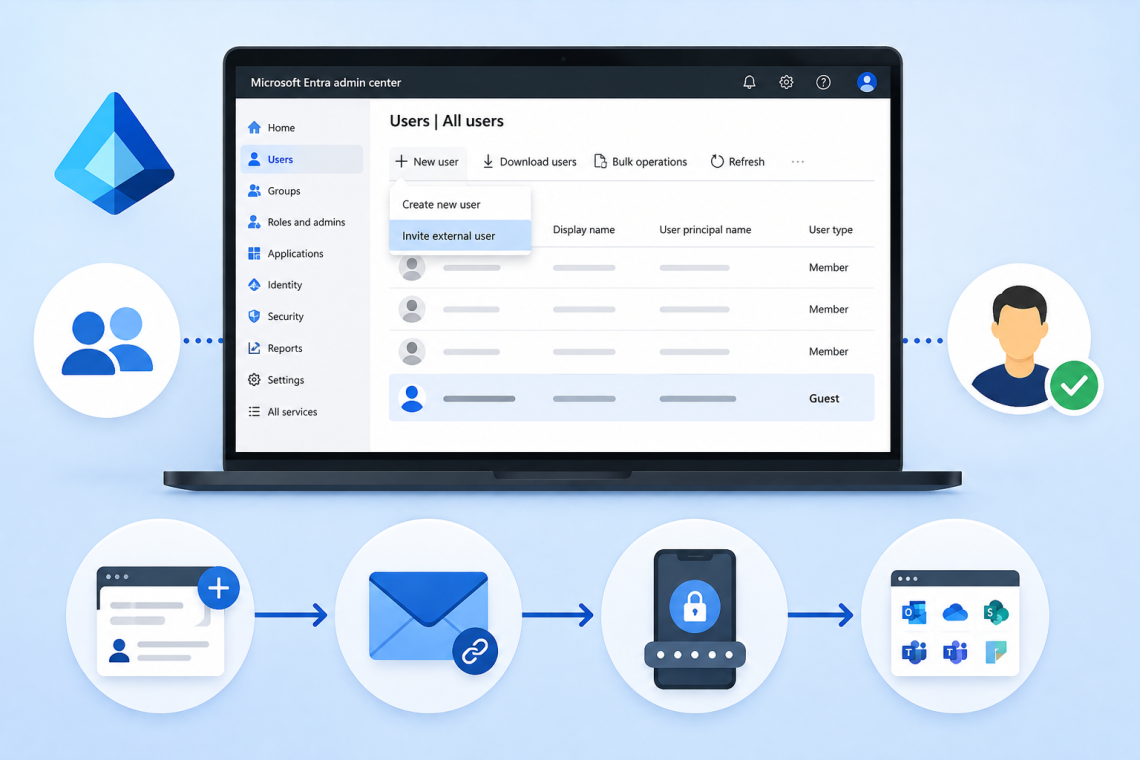
Organizations often need to collaborate with external users such as vendors, partners, contractors, and customers. Microsoft Entra ID makes it easy to invite these external users to your organization as guest users using B2B collaboration.
In this guide, we’ll walk through the step-by-step process of inviting a guest user in Microsoft Entra ID, including entering the guest’s details, sending the invitation, and verifying the guest account after the invitation is sent.
What is a Guest User?
A Guest User is an external user that can access selected Microsoft 365 resources without becoming a full member of your organization.
Common scenarios include:
- External consultants
- Business partners
- Vendors
- Contractors
- Customers
- Auditors
Guest users typically have a User Type of Guest and authenticate using their own identity provider (such as Microsoft, Google, or another Entra ID tenant)
Benefits of Guest Users
- Secure external collaboration
- Access Microsoft Teams
- Share SharePoint sites
- Access selected applications
- Maintain centralized identity management
- Reduce duplicate accounts
Inviting a Guest User
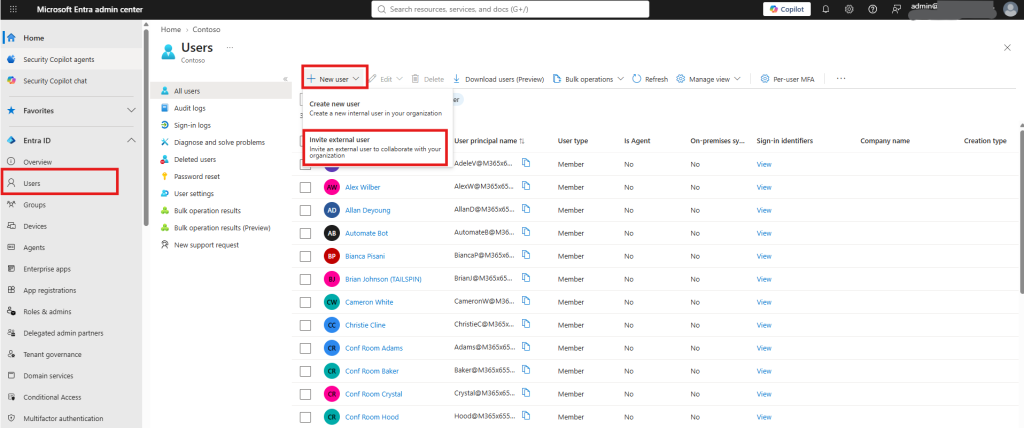
Navigate to Microsoft Entra Admin Center → Entra ID → Users → New User → Invite External User.
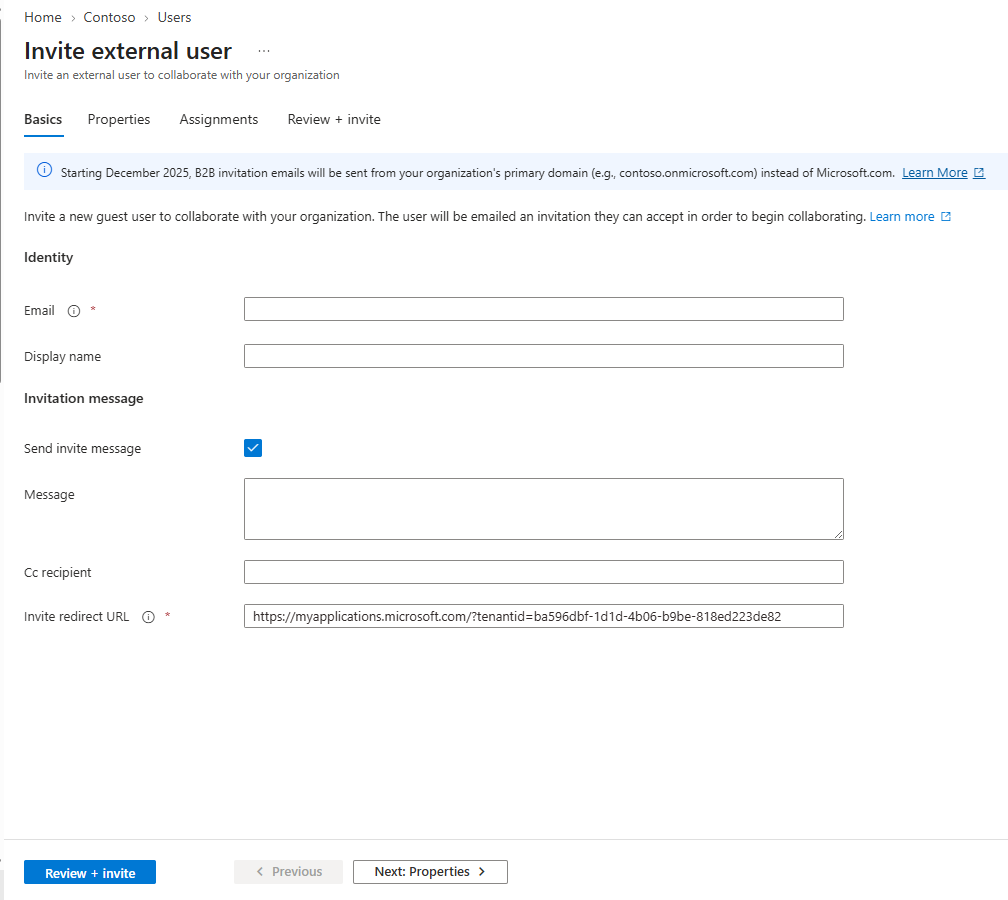
In the Invite External User blade, enter the guest user’s email address. Fill in the other fields as required.
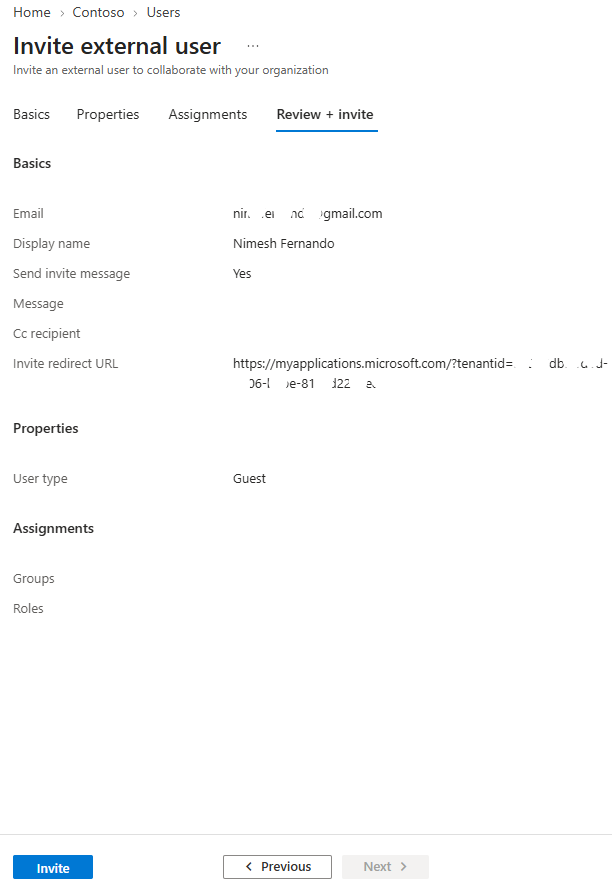
Once you have entered all the necessary information, review the details and click Invite to send the invitation.
After sending the invitation, navigate to Entra ID → Users and search for the guest user you just added. Select the guest user to open their profile.
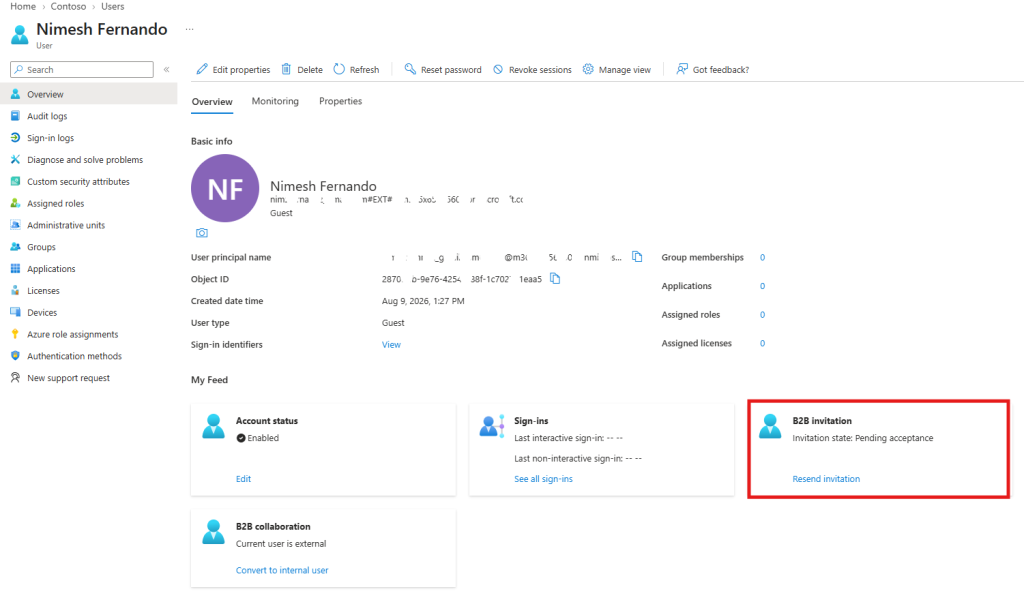
In the Guest User blade, you can view all the information you entered during the invitation process. Under the B2B Collaboration section, you may see the status as Pending acceptance. This means the guest user has not yet accepted the invitation.
If needed, you can send the invitation email again from the guest user’s profile.
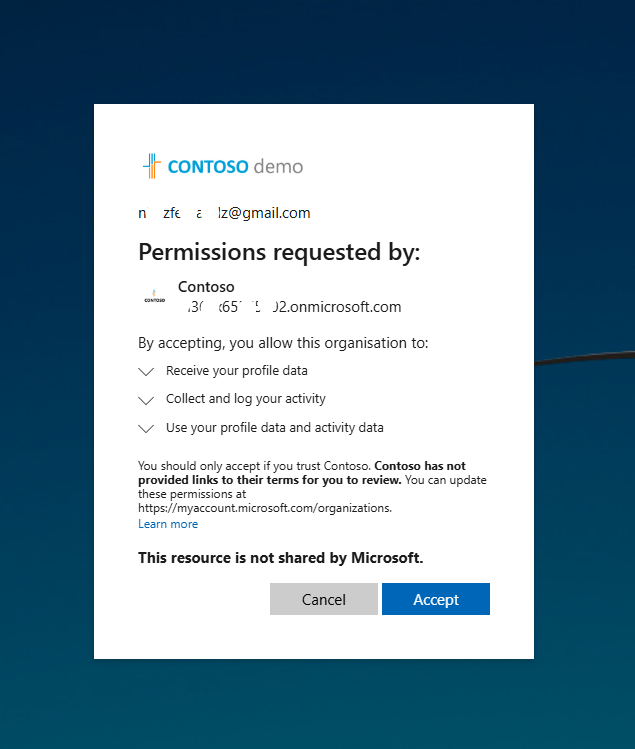
After clicking the invitation link, the guest user will be prompted to review the requested permissions and click Accept.
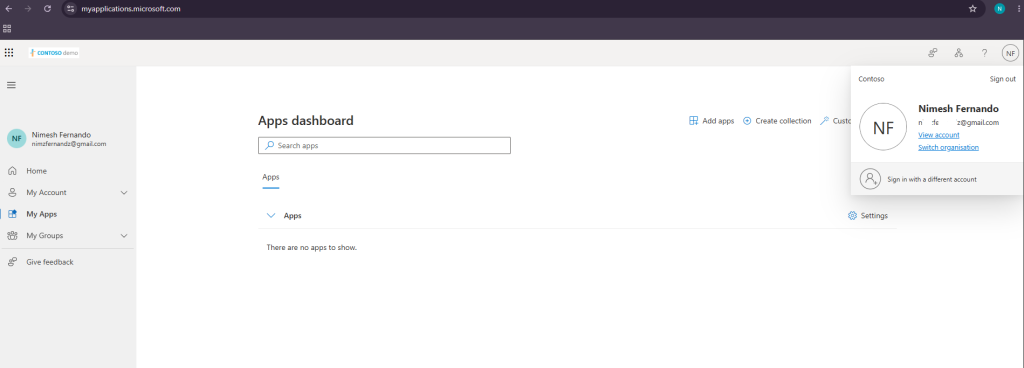
After accepting the invitation, the guest user will be prompted to set up MFA according to the organization’s security policies. Once MFA setup is complete, the guest user can sign in to the tenant using their external account.
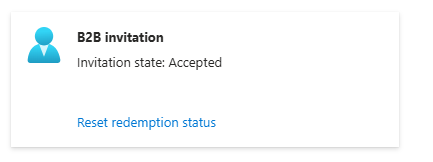
In Entra ID → Users, open the external user’s profile and check the B2B Collaboration section; the status should now show Accepted, confirming that the guest has accepted the invitation.
We have now successfully added a guest user to Microsoft Entra ID. The guest has accepted the invitation, completed the required MFA setup, and can now sign in to access the resources shared with them.
In a future article, I’ll cover best practices for securing and managing guest users in Microsoft Entra ID.
